If you’re like most people, you probably take screenshots on your iPhone all the time. They can be super useful for capturing moments from videos, saving funny text conversations, or just to keep a record of something you need to refer back to later. But if you’re not sure how to take a screenshot on your iPhone, it can be tricky. In this article, we’ll show you how to take a screenshot on your iPhone in just a few easy steps.
Taking a screenshot on iPhone SE or older

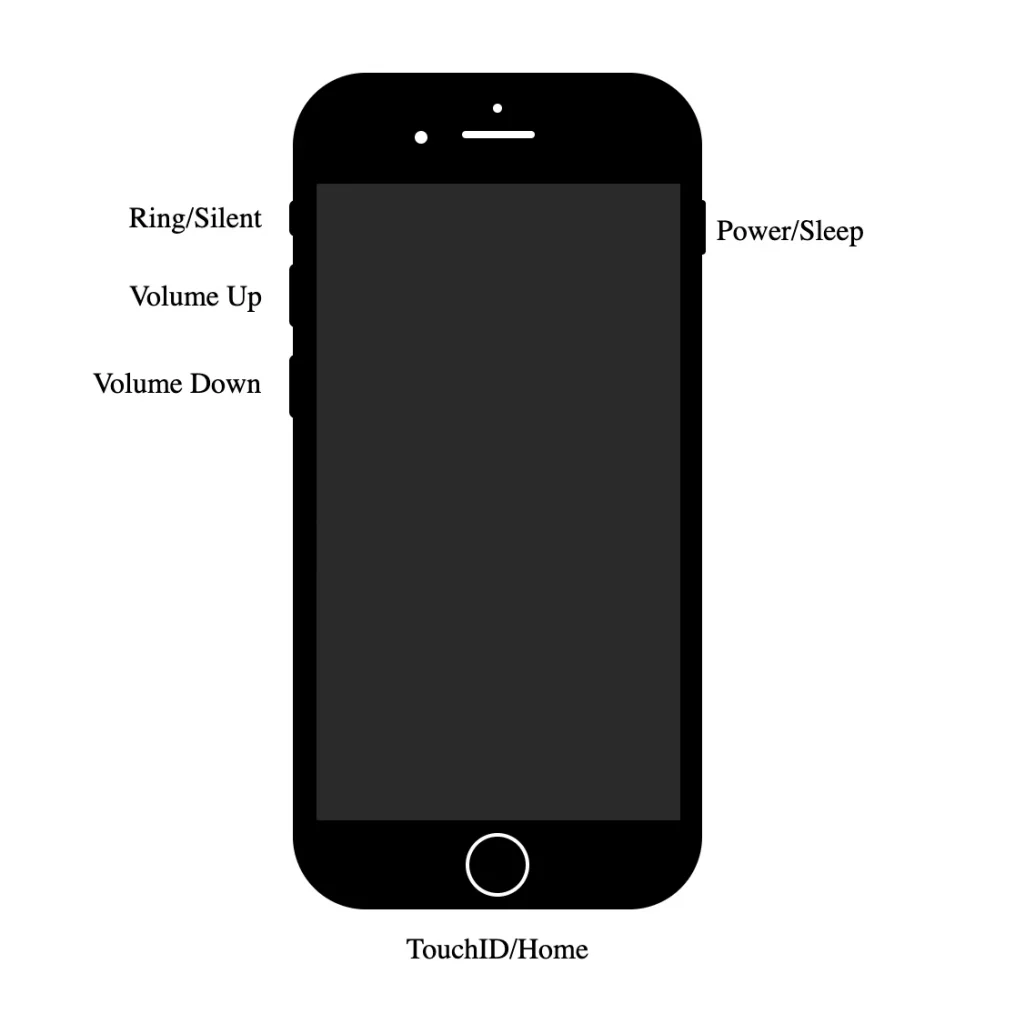
Power + Home
Taking a screenshot on your iPhone is actually really simple. All you need to do is press and hold the Power button and the Home button at the same time.
The screen will flash white and you’ll hear a camera shutter sound, indicating that a screenshot has been taken. You can then find the screenshot in your Photos app.
Here are all device types and models that can take a screenshot by pressing the Power button and Home button:
- iPhone 4
- iPhone 4S
- iPhone 5
- iPhone 5c
- iPhone 5s
- iPhone 6
- iPhone 6 Plus
- iPhone 6s
- iPhone 6s Plus
- iPhone SE (1, 2 and 3 generation)
- iPhone 7
- iPhone 7 Plus
- iPhone 8
Taking a screenshot on iPhone X or above
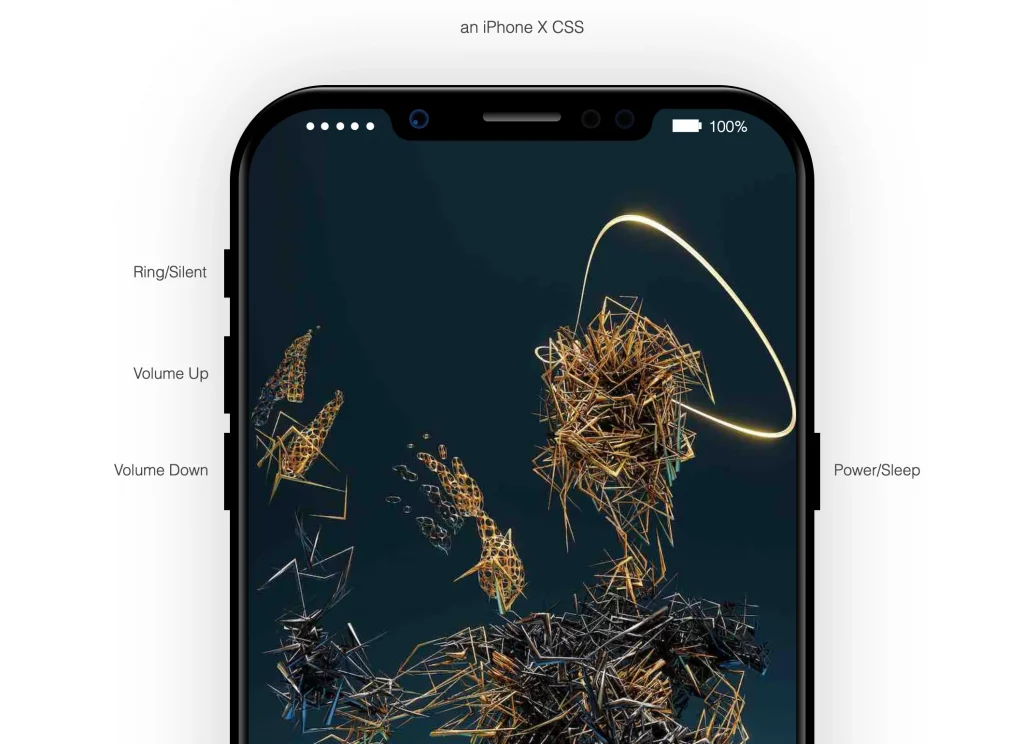
Power + Volume Up
If you’ve just upgraded to an iPhone X or above and aren’t sure how to screenshot? Don’t worry, it’s actually really easy! In this post, we’ll show you step-by-step how to take a screenshot on your iPhone X or above.
To take a screenshot on your iPhone X or above, just press the Side/Power button and Volume up button at the same time.
You’ll see a white flash and hear a camera shutter sound, which means you’ve successfully taken a screenshot. Your screenshot will be automatically saved in the Screenshots album in the Photos app.
Here are the lists of devices which you can use this way to take a screenshot:
- iPhone 13 Pro
- iPhone 13 mini
- iPhone 13
- iPhone 12 Pro
- iPhone 12 mini
- iPhone 12
- iPhone 11
- iPhone 11 Pro
- iPhone 11 Pro Max
- iPhone XS
- iPhone XS Max
- iPhone XR
- iPhone X
Bonus:
You can also use AssistiveTouch to take a screenshot of an open app or website. To turn on AssistiveTouch (iOS 15), go to Settings -> Accessibility -> Touch -> AssistiveTouch and turn on the feature.
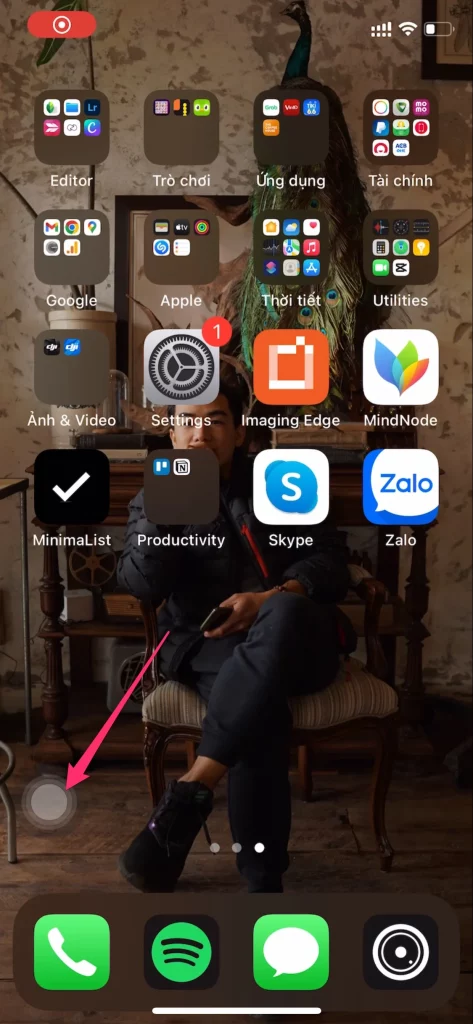
Once it’s turned on, you’ll see a small white button appear on your screen. Tap this button to expand the AssistiveTouch menu, then tap the “Screenshot” button to take a screenshot.
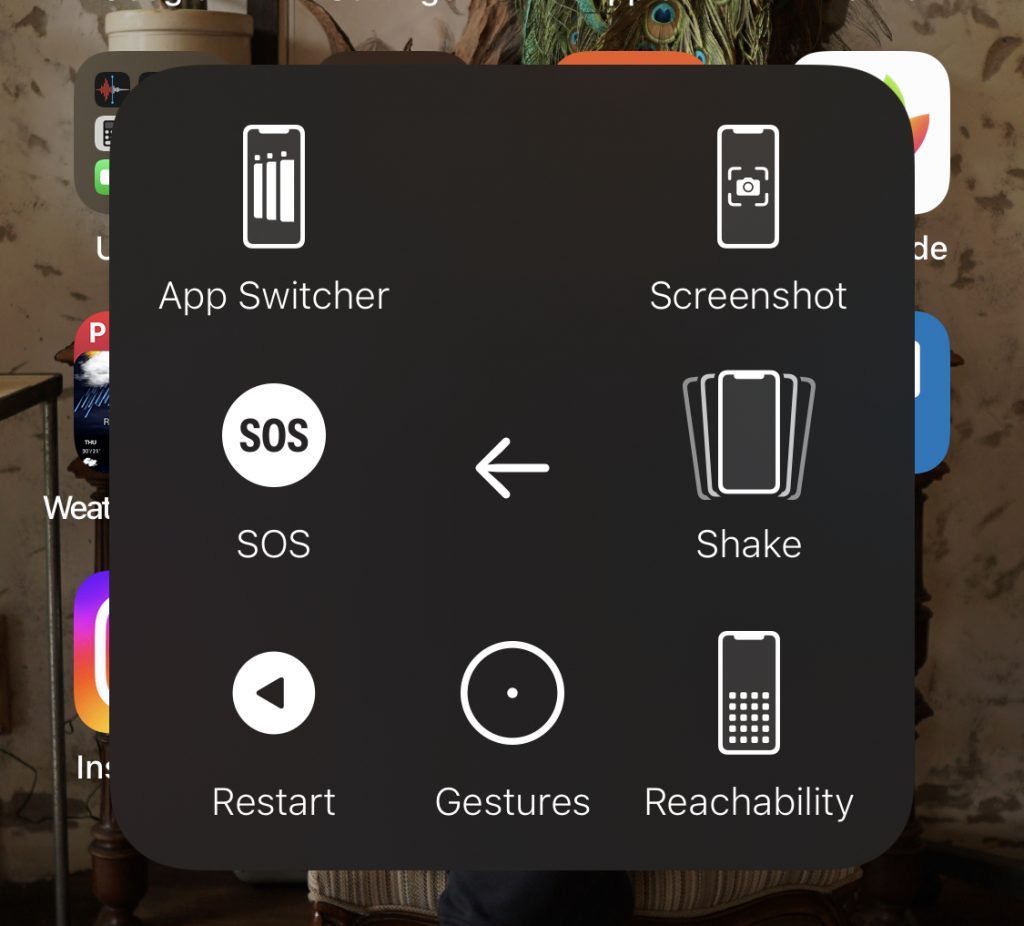
When the app or website is open, tap the AssistiveTouch button again and tap “Screenshot.” This will take a screenshot of the app or website and save it in the Screenshots album in the Photos app.


