macOS systems have already made themselves simply to take screenshots of your Mac screens by default. It doesn’t matter you are working with Mavericks, Mountain Lion, Yosemite, OS X EI Capitan, or any versions of macOS.
How to take a screenshot on Mac OS X Mavericks
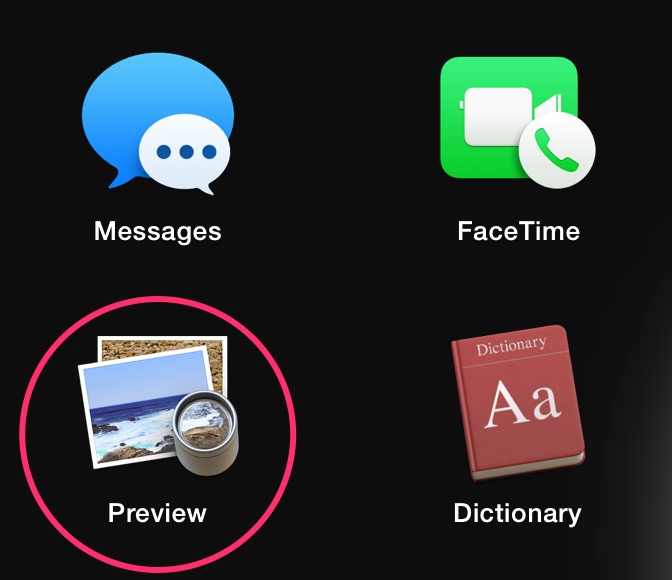
Method 1: Using Preview App

You can see this video tutorial below to learn how to take a screenshot on your Mac.
Method 2: Using the combination buttons of your keyboard.

Hold down the Command + Shift + 3 keyboard shortcut: To take a screenshot of the entire screen and save it as a .png file to the desktop.
- Hold down the Command + Shift + 4 keys: The selection box will appear so you can select an area to take a screenshot of.
- To take a screenshot of a window only and save it as a file to the desktop, hold down the Command + Shift + 4 and then press Spacebar.
- To take a screenshot of the whole screen, hold down the Command + Control + Shift + 3 keyboard shortcut. The screenshot will be saved to the clipboard, so you can paste it into any application.
- To take a screenshot of selection, hold down the Command + Control + Shift + 4 keys. The screenshot will save to the clipboard for pasting into any application.
- Press Command + Control + Shift + 4 and then Spacebar to take a screenshot of an open window and save it to the clipboard
See more: To change the format of image files, you can see this article.


