Taking a screenshot are an extremely helpful method to share the high scores of Game, what’s on your screen display to somebody. The good news, all the popular platforms (including Windows, Mac, Ubuntu, Android or iOS) have a few level of support for taking a screenshot. In this article, I will share you a few methods on the way to take a screenshot in Windows 10.
How to Take a Screenshot on Windows 10 (3 Methods)
1. Using Snipping Tool
You can easily take screenshots of Windows 10 by using the Snipping Tool program. This is a built-in program on Windows 7, Windows 8.1 and Windows 10 which helps you to save the photos on your screen and share them with friends and colleagues via Email, Facebook, Skype, Google Drive, etc. Step 1: At the taskbar, type “Snipping Tool” into the search box next to the Start button.
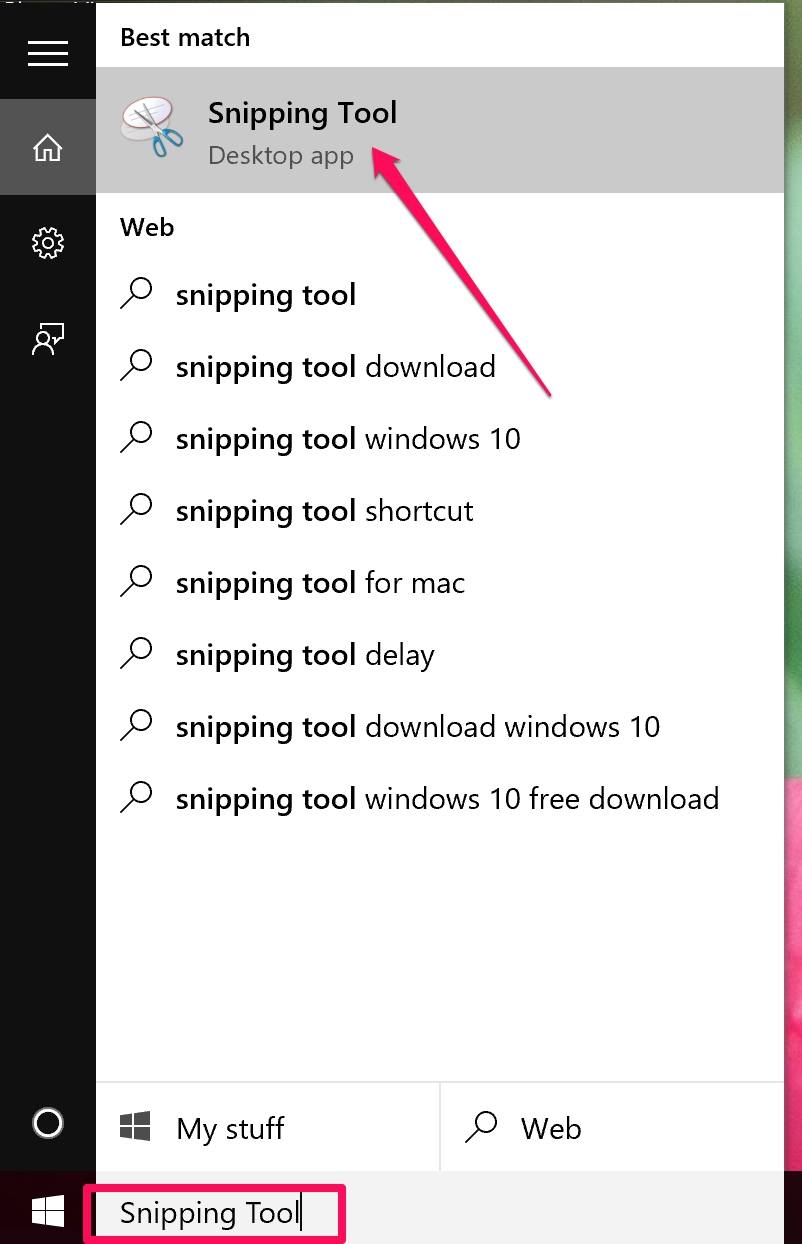
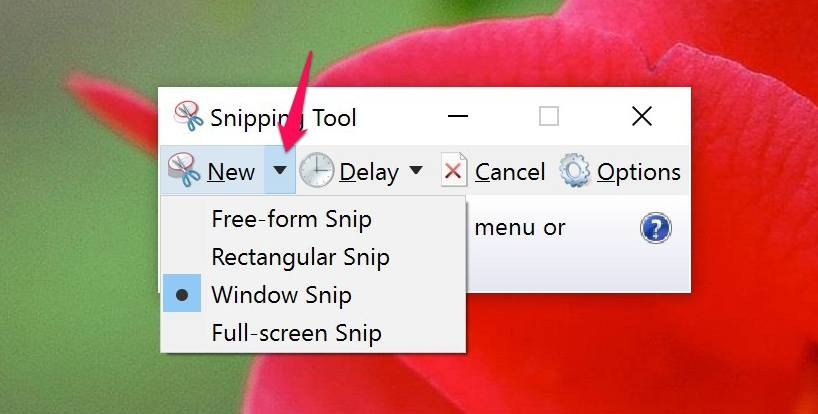
Step 2: Select the Snipping Tool icon from the list of results. Step 3: To take a screenshot, you need to click on New button at Snipping Tool window.
Then, just move the cursor to choose the area of the screen you want and then release it when you’ve chosen the suitable area.
Note: If you want to change the shape of the screenshot, you must select the Arrow next to the New button.
Step 4: The area which has chosen will be opened in a new window.
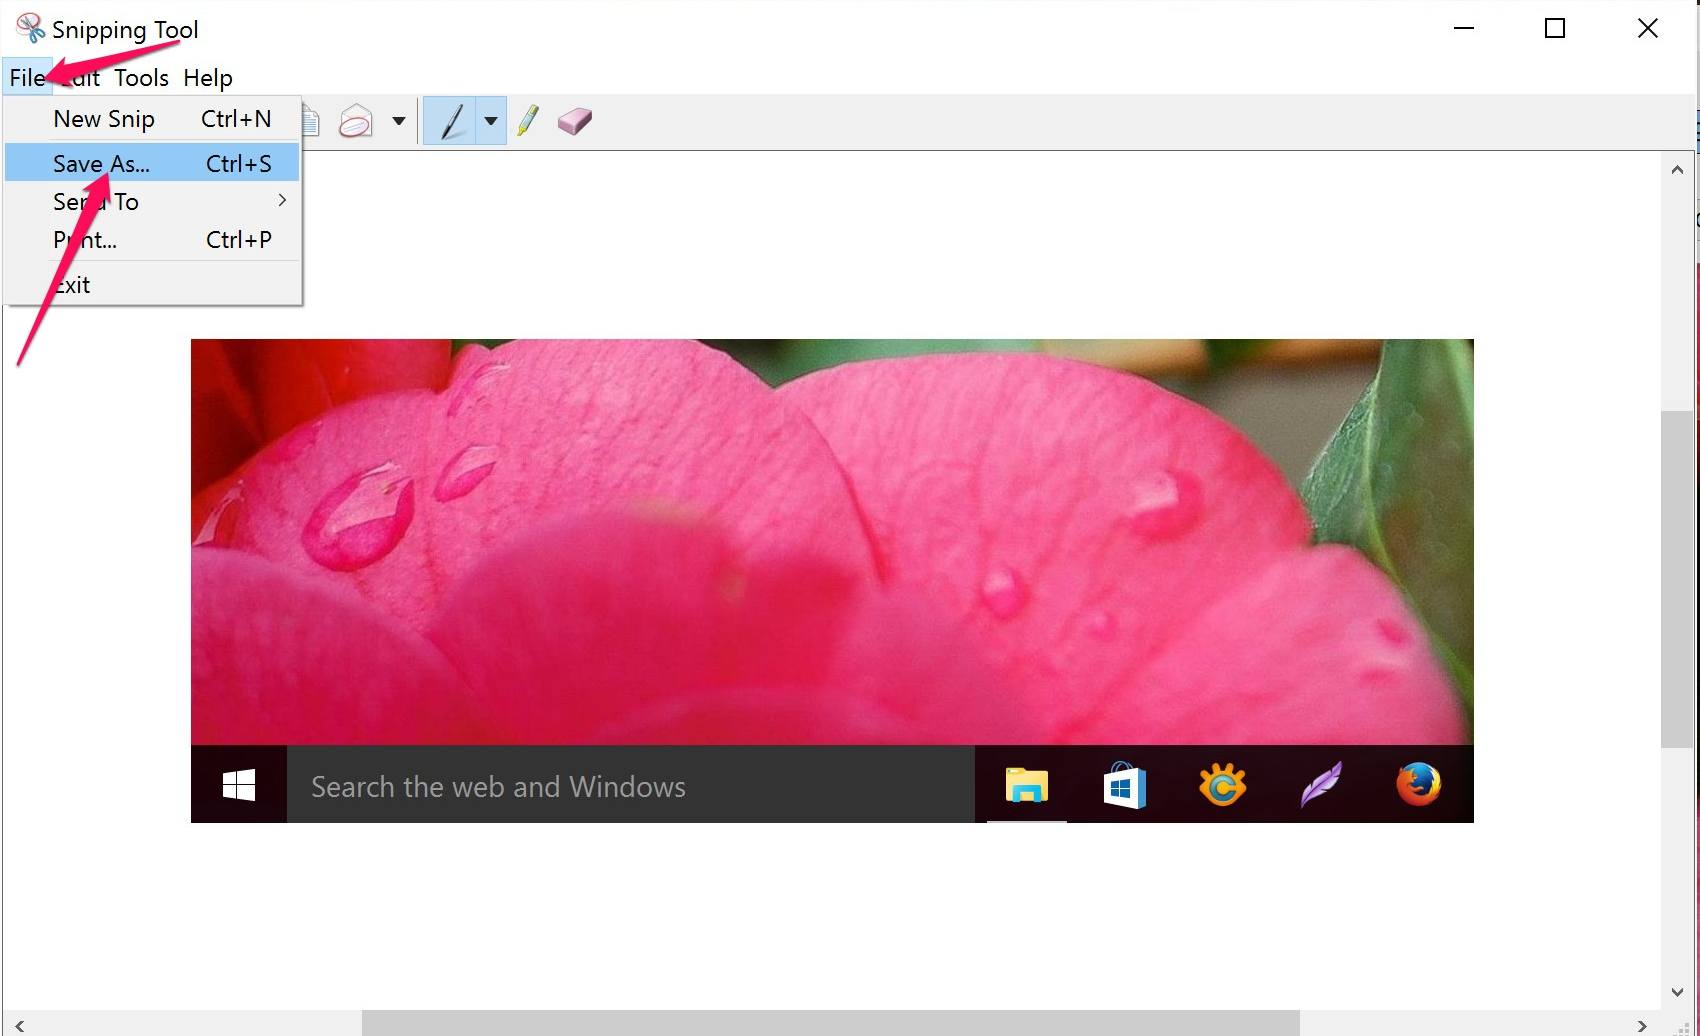
Now you can edit, draw or anything you want by using some tools that Snipping tools offered. Select File >> Save as the image format you want to your hard disk. You can see this video tutorial below:
2. Using the PrtScn key which saves the screenshot as a file
Tap on the “Windows + PrtScn” key. If you’re working with a tablet (Surface), tap on the “Windows + Volume Down button.” The screen will flash and you can hear a shutter sound and then the screen is saved as a file in the Screenshots folder.
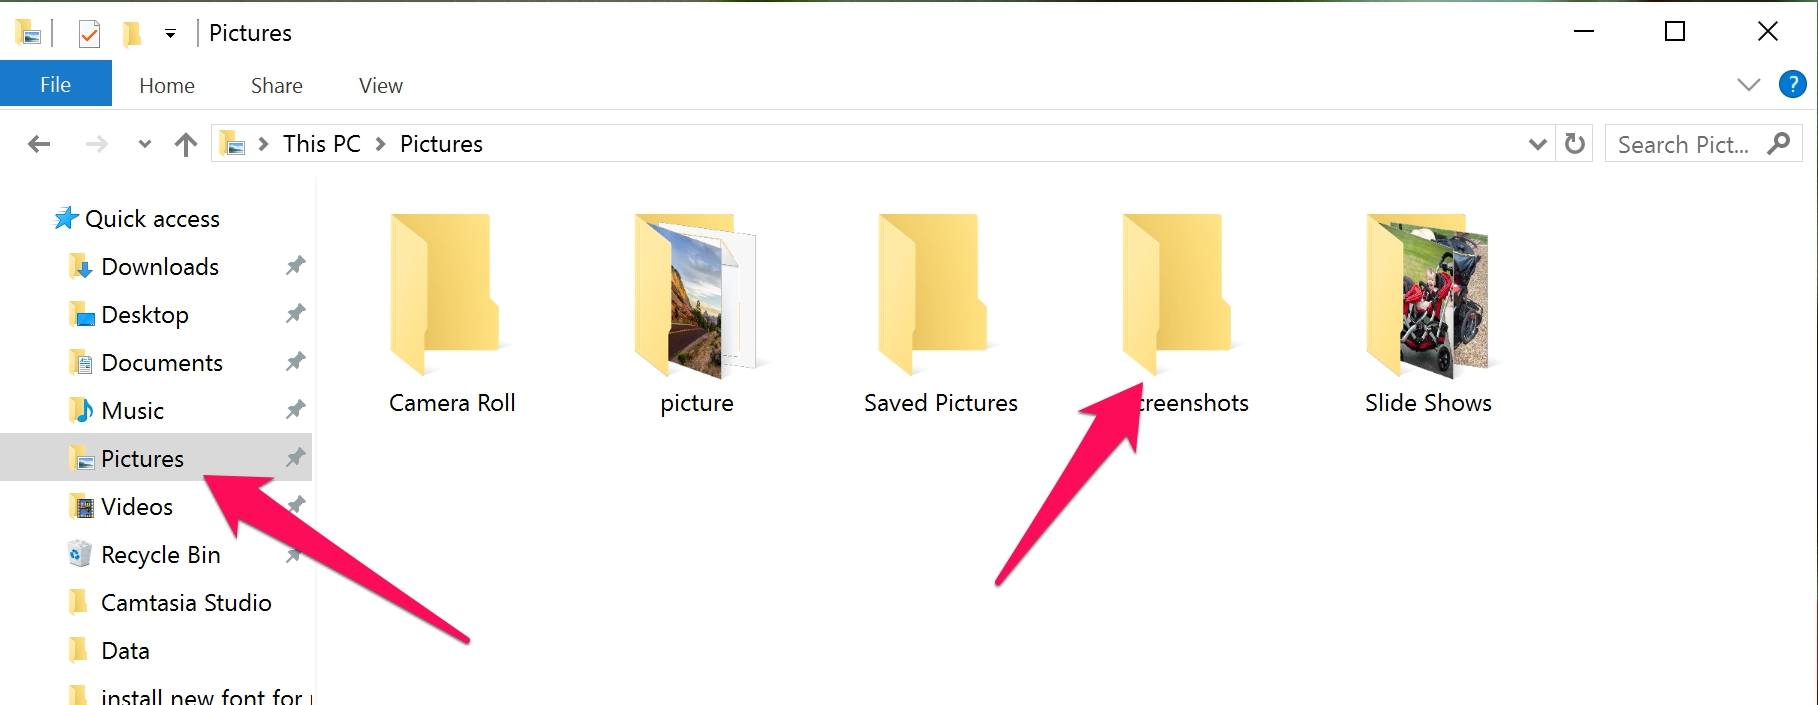
You can find this folder via the path: Users/Name PC/Pictures or open the Explore >> Pictures folder. The name of screenshots will automatically be created with the File Name such as “Screenshot (1), (2, (3), (…).png”.
3. Using the PrtScn key which copies to clipboard
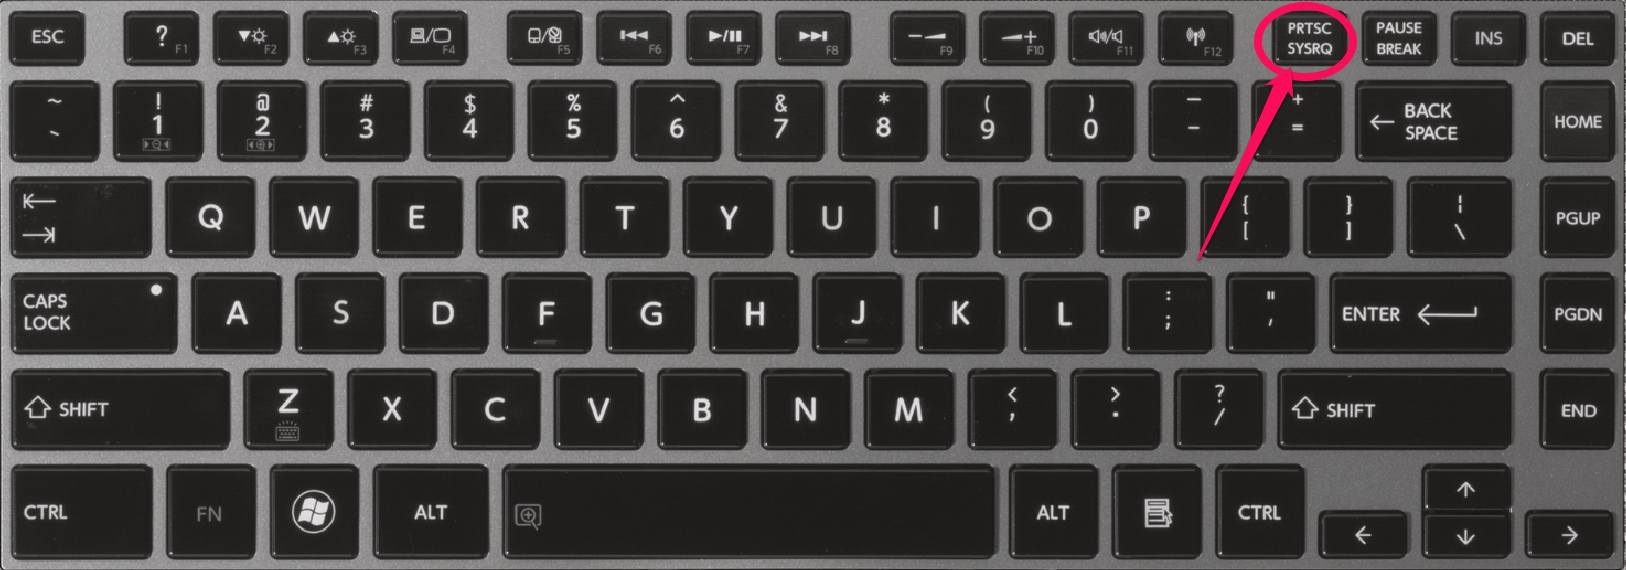
Taking a Screenshot of the whole screen
Press the Print Screen (PrtScn) button on the keyboard of Laptop or PC. The screenshot is saved to your clipboard and you can paste it into an image editor like Windows Paint, Photoshop, etc.
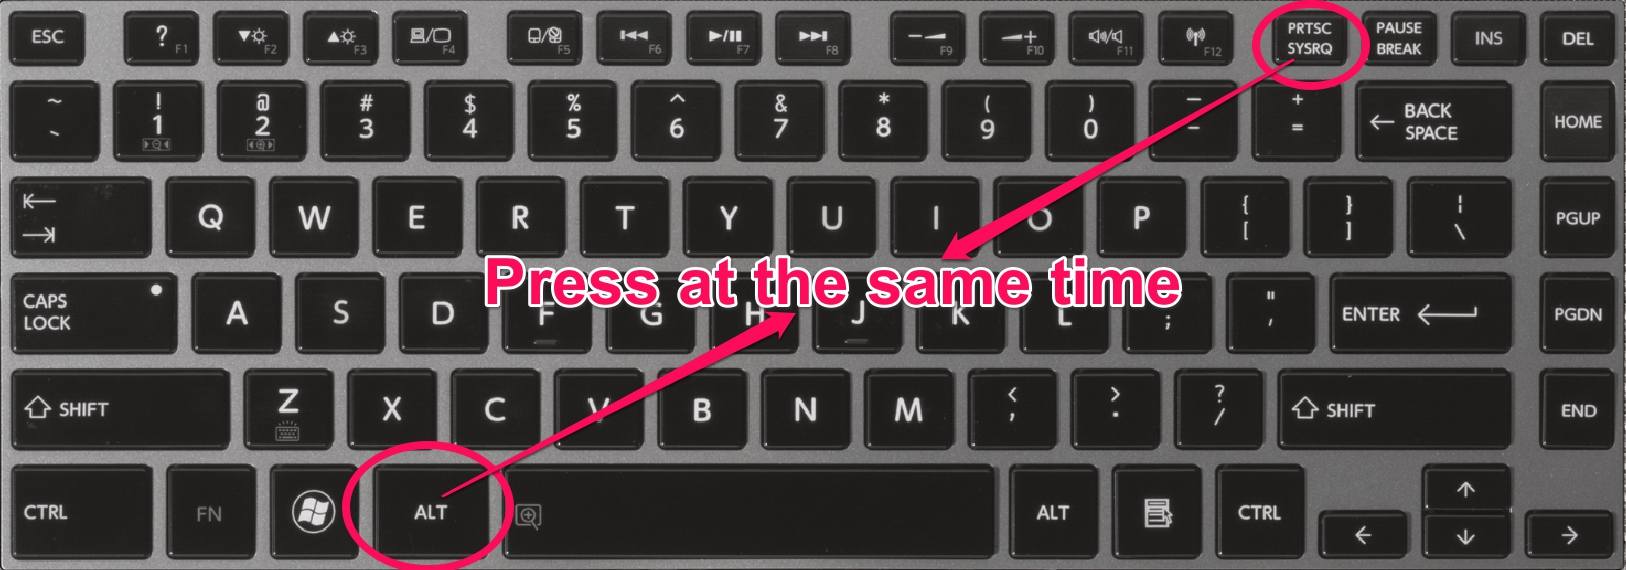
Taking a Screenshot of active window
Select the Title bar of the window which you need to take a screenshot. Then, press and hold the “ATL + PrtScn” button. The screenshot of a presently active window is now saved to the clipboard, then paste it into the program editor you want.
Note: On some laptops and other devices, you have to use the “Ctrl + PrtScn” or “Fn + PrtScn” or “Alt + Fn + PrtScn” combination keys instead.
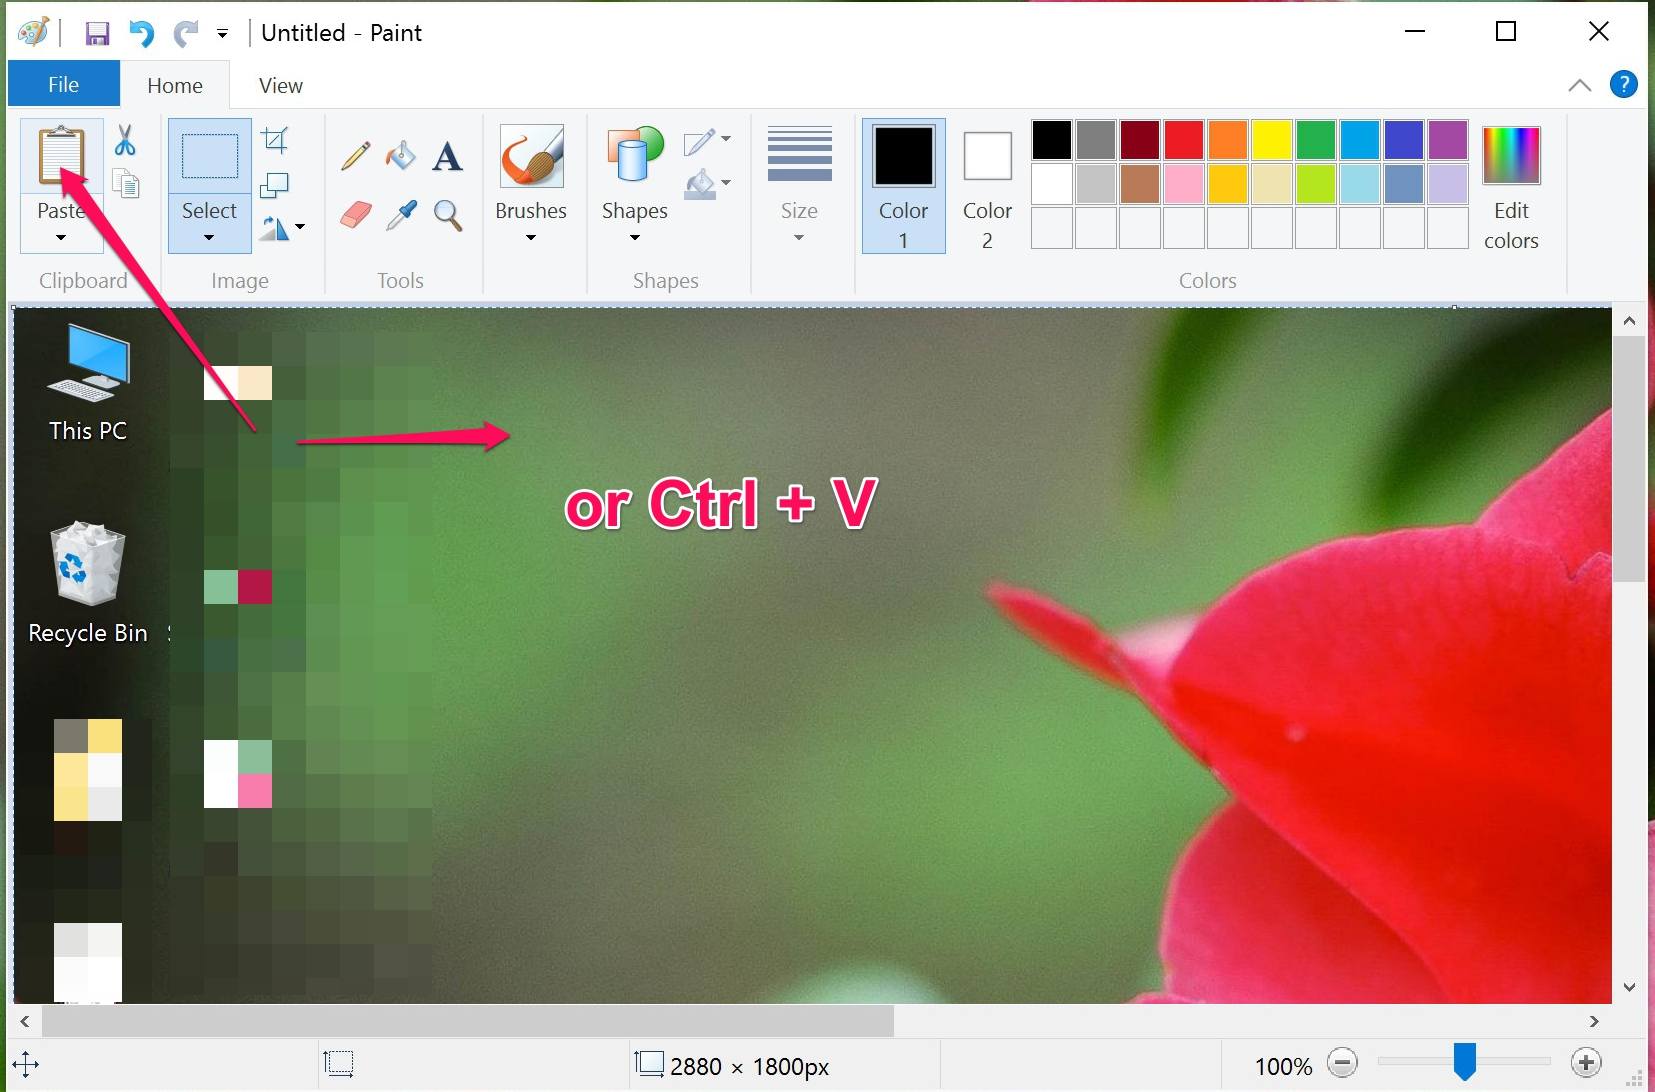
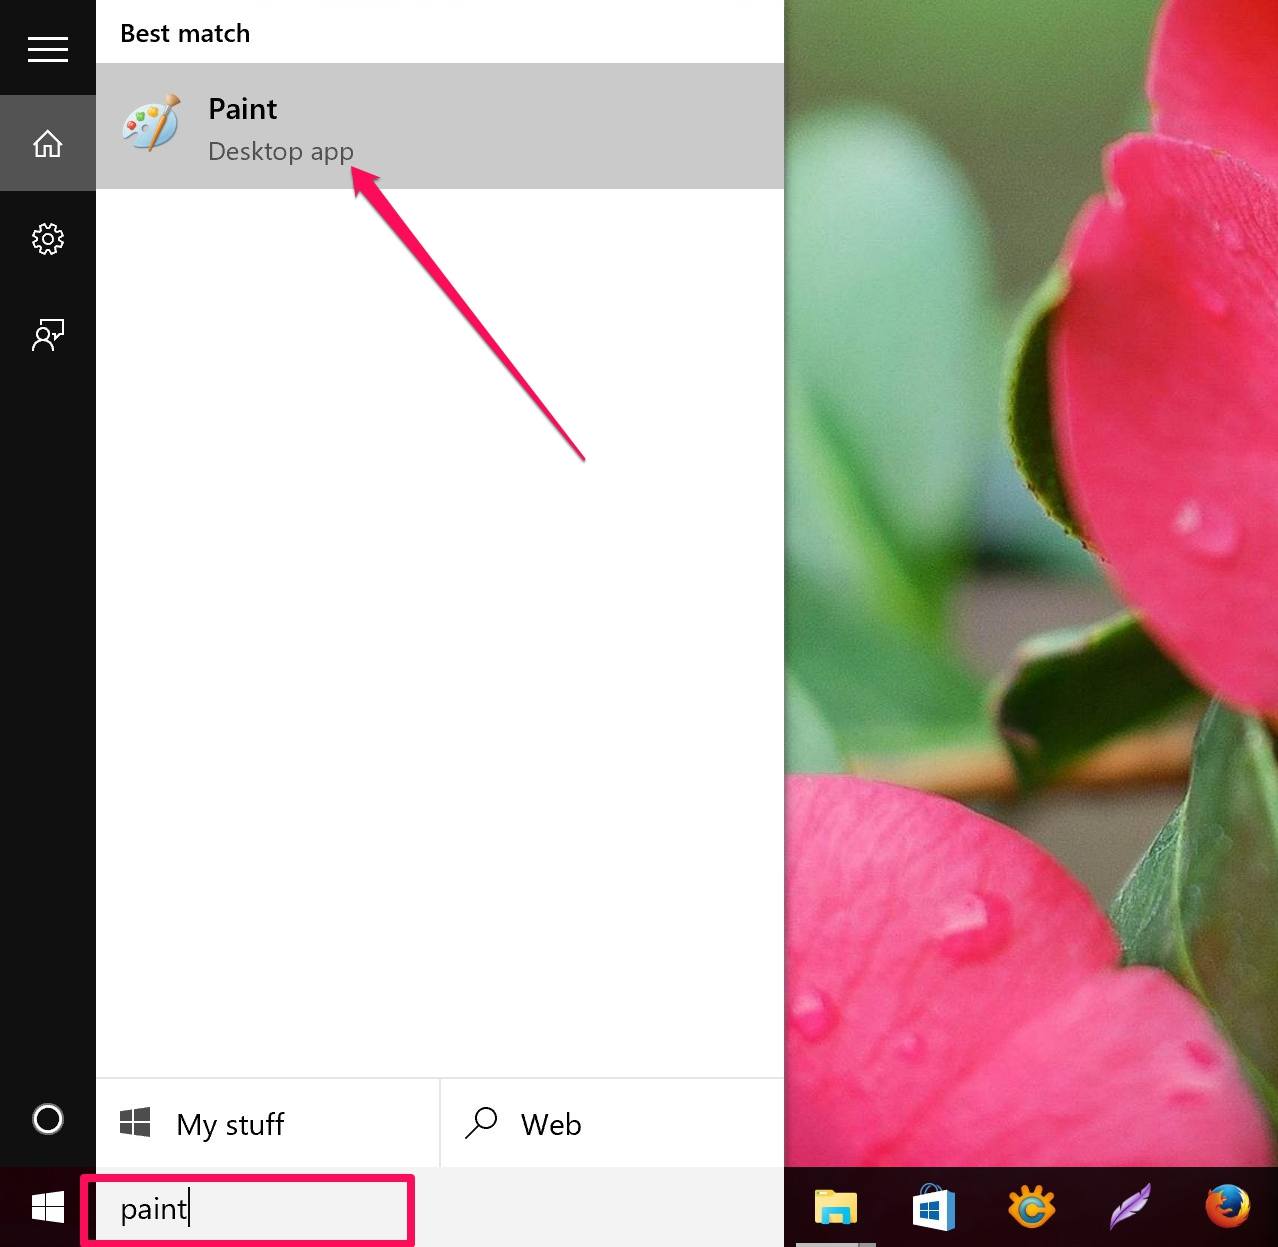
In this guide, TASG uses the Paint program to paste the screenshot which saved to the clipboard. Open Paint program in Windows 10.
Press Paste button or use Ctrl + V key of the keyboard to paste the screenshot which is saved to Paint.